How to Create Alteryx Workflows: Beginner Step-by-Step Guide
Learn a beginner-friendly Alteryx workflow to load, clean, combine, and export data with confidence.
Overview
Product Name: Alteryx Designer (x64)
Product Version: 2022.3.1.450 Patch 2
Alteryx is a versatile data analytics platform with tools for data preparation, blending, and advanced analytics. Its goal is to help users with different levels of programming experience manipulate, cleanse, and transform data from multiple sources. The drag-and-drop interface lets you build custom workflows by connecting pre-built tools, which keeps the learning curve approachable for beginners. Alteryx supports many data formats and integrates with databases and other analytics systems, making it a practical option for building custom datasets quickly.
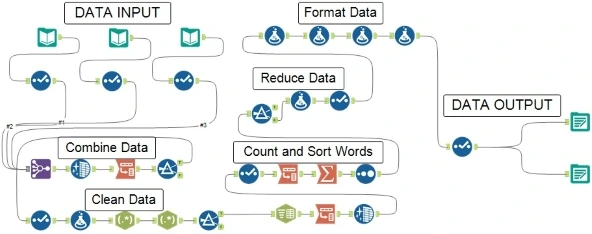
In this tutorial, we’ll create and complete a basic Alteryx workflow:
- Data collection
- Data integration
- Data cleansing
- Data serialization
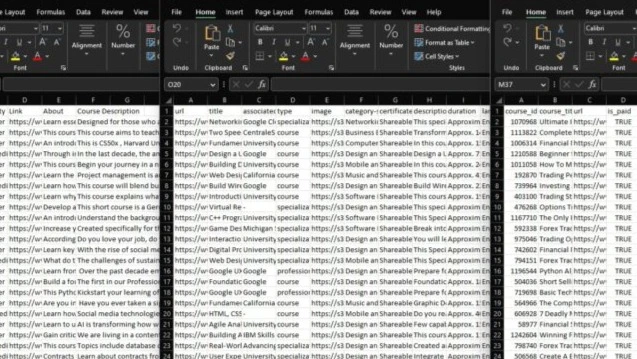
For this tutorial, we’ll combine datasets from three online learning platforms and export one complete dataset at the end. I’ve already downloaded the datasets I need, and there are many free and premium sources online.
Data collection
Obtain datasets
For this example, I’ll combine online course data from multiple sources so that, by the end, we’ll export one complete combined dataset.
These can come in various formats, e.g. .csv, .xlsx, DB connections and more.
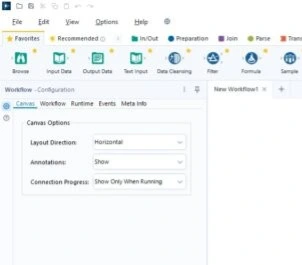
Create workflow
Now let’s create a workflow in Alteryx:
- Click File → New Workflow.
- Do it again but hit Save this time (File → Save).
- You now have an empty workflow. It will adopt the saved file name by default.
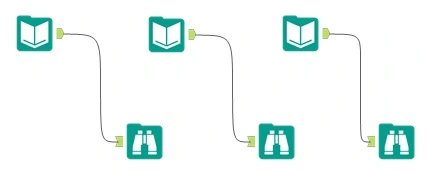
Input data
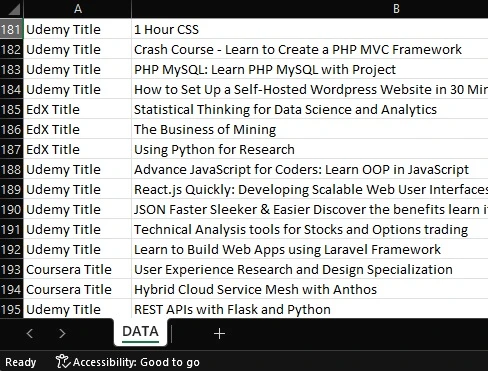
Now that we have a workflow, let’s bring in our data.
- Add and configure an Input Data tool from the In/Out tab for each dataset.
- Attach a Browse tool from the In/Out tab for each data source so you can inspect data after a run.
- Click the blue Run button in the top right corner.
- Select any Browse tool to view the results for that dataset.

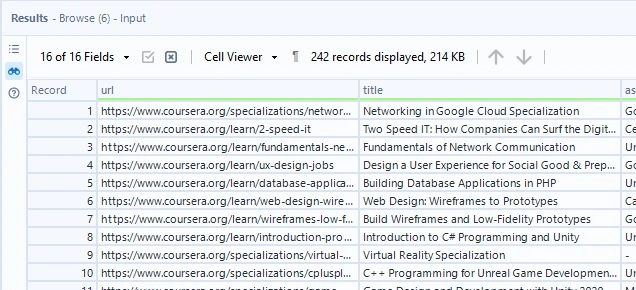
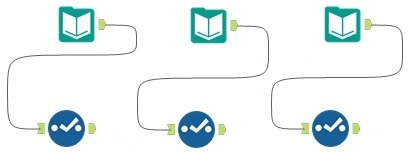
Select desired fields
Now that we’ve confirmed we can view each dataset, it’s time to start shaping the data.
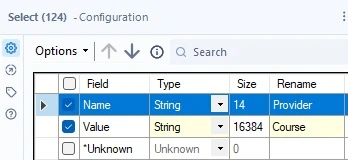
- Replace each Browse tool with the Select tool from the Preparation tab.
- For our purpose we just want the title from each dataset.
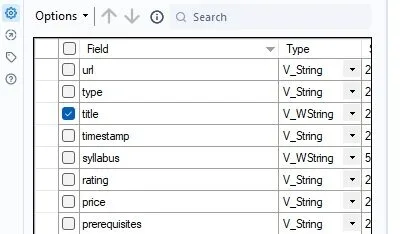
Scroll to the right in the Select window and you’ll find the Rename Column option. Since we’ll be combining multiple datasets, this helps track where each title comes from.
Rename columns like DATASETNAME_title.
Data integration
Join data
Now let’s combine the selected data from each dataset.
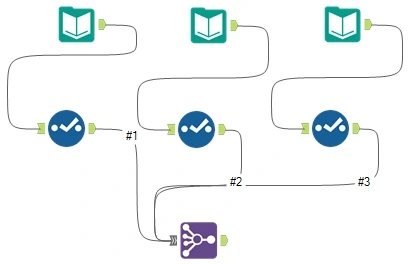
- Add a Join tool from the Join tab and connect all of the Select tools to it.
- Configure it to the Join by Specific Fields option.
- Set the Field Outputs to the data you’re carrying over (e.g. title).
Transpose data
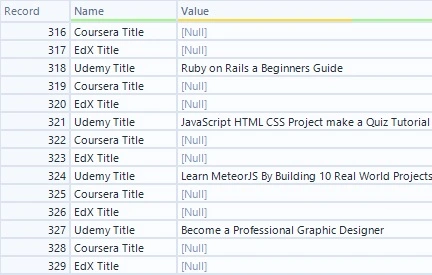
Instead of using a separate column name to identify the dataset source (e.g. DATASETNAME_title), we’ll move that source label into a field on each record.
- Attach a Transpose tool from the Transform tab to the Join tool.
- Set the Data Columns to the data you’re carrying over (e.g. title).
- Verify that the restructuring was successful.
Data cleaning
Cleanse, filter, and select data
Now we’ll cleanse our data:
- Remove entirely null rows and columns.
- Set nulls to empty on strings.
- Cleanse whitespace, tabs, and breaks.
Attach a Data Cleansing tool from the Preparation tab.
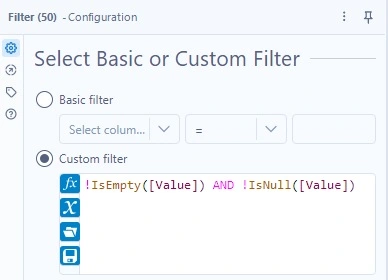
One oversight: this does not clean partially null records. Let’s add a custom filter:
- Append a Filter tool from the Preparation tab to the Data Cleansing tool.
End of workflow cleanup
Finalize your column names with a Select tool.
Data serialization
Export data
- Append the Output Data tool from the In/Out tab.
- Click Set Up a Connection.
- Select your desired output format (e.g.
.xlsx). - Click the blue Run button again.
- Check the save location for the output file.

Conclusion
Great job, you now have the groundwork for a fully functional Alteryx Workflow!

You can combine any number of data sources, customize the data, and then create your own insightful datasets. There is more than one way to complete a task, and you have the freedom to sequence steps in whatever way works best for your project. Don’t stop here, though. There are many more tools built into Alteryx, and we’ve only scratched the surface.
BONUS
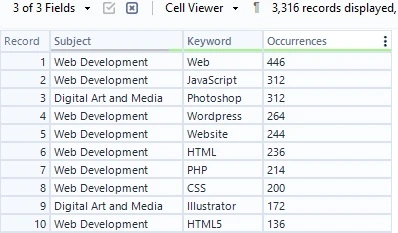
I made some modifications!
Instead of outputting only Course Titles and Course Providers, I changed the workflow to count how many times each word appears in Course Titles and sort from largest to smallest to find which technology “keywords” were repeated most often.
Along with the .xlsx file, I also set it to output a .hyper file for Tableau. This is one example of where you can go from this tutorial.